NILUPAK NA SAGING, EASY DESSERT RECIPE
- Lutomotto

- Apr 30, 2023
- 2 min read
Updated: Jun 4, 2023

This particular Filipino dessert is of a delectable native origin. The native type bananas which is called "saba" are traditionally mashed manually. This traditional method will transport you back to the time when most Filipinos made Nilupak na Saging as a youngster. With the vast variety of emerging Filipino desserts and merienda (afternoon snack), you can no longer find a recipe as simple as this anywhere. Others refer to it as "Linuyang."
TRADITIONAL KITCHEN EQUIPMENT USED
Nilupak, a typical Filipino merienda that may be made with either saba or cassava, is a genuinely classic dish. Traditionally, the components for nilupak are pounded together in a huge mortar and pestle called “lusong.” The "lusong" is a major kitchen necessity in the preparation of nilupak na saging. In essence, it is a huge mortar and pestle. In addition to being used to make nilupak, the lusong is also used to process harvested rice, separate the grains from the husk, and crush cacao seeds to release the kernels from their shells.
RECIPE PROPER
As a result of the memory attached to it as well as the traditional method or recipe, the current generation can never be compared to the past. In this particular version, which is made easier, a food processor is being used instead. However, it would be up to the parents if they want their children to learn the traditional way, it would be better as long as local equipment is available.
NILUPAK NA SAGING
WRITTEN RECIPE:
Serves 2 to 3 persons
Cooking time: 30 min
Cuisine: Filipino
Course: Dessert
LIST OF INGREDIENTS:
5 pcs. Saging na Saba
1 tbsp. Butter or Margarine
3 to 4 tbsp. COndensed Milk
COOKING INSTRUCTIONS:
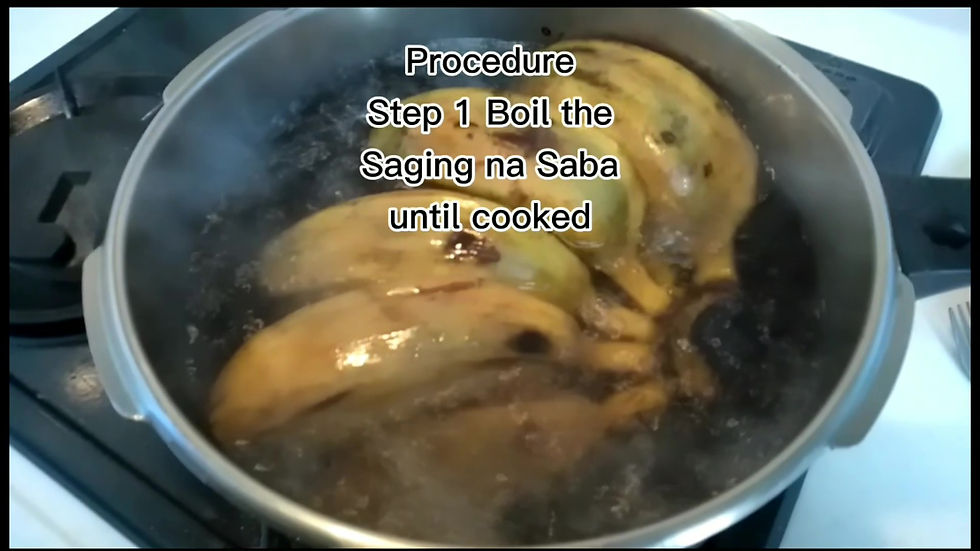
Step 1: Boil the banana until cooked;

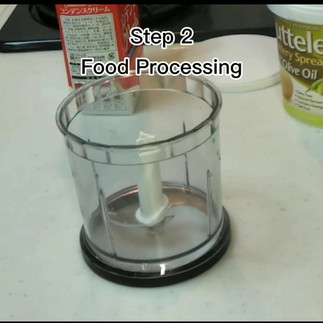
Step 2: Food processing:
USING A FOOD PROCESSOR, DO THE FOLLOWING:
- Slice the banana into small chunks;
- Add the butter;
- Add condensed milk;
- Turn the food processor and start grinding and mixing the ingredients until the desired smoothness;
Step 3: Plating and serving. You may add salted egg as toppings but this is optional. You can be creative and make your own toppings and designs to make a good presentation.
Thank you so much for joining us in this cooking session. Please share your experience and how it goes by leaving your comments.
SHOP FOR ALL YOUR KITCHEN ESSENTIALS HERE:
(MAY CONTAIN AFFILIATE MARKETING LINKS,
PLS. SEE DISCLAIMER IN OUR TERMS & CONDITIONS)
TO FILL UP YOUR PANTRIES AND FRIDGE
WITH INGREDIENTS AND GROCERIES
TO LOOK FOR YOUR KITCHEN SUPPLIES
TOOLS AND EQUIPMENT NEEDS
Visit our Facebook Page as well:


Wow looks so easy to make nly 3 ingredients. And looks yummy too.